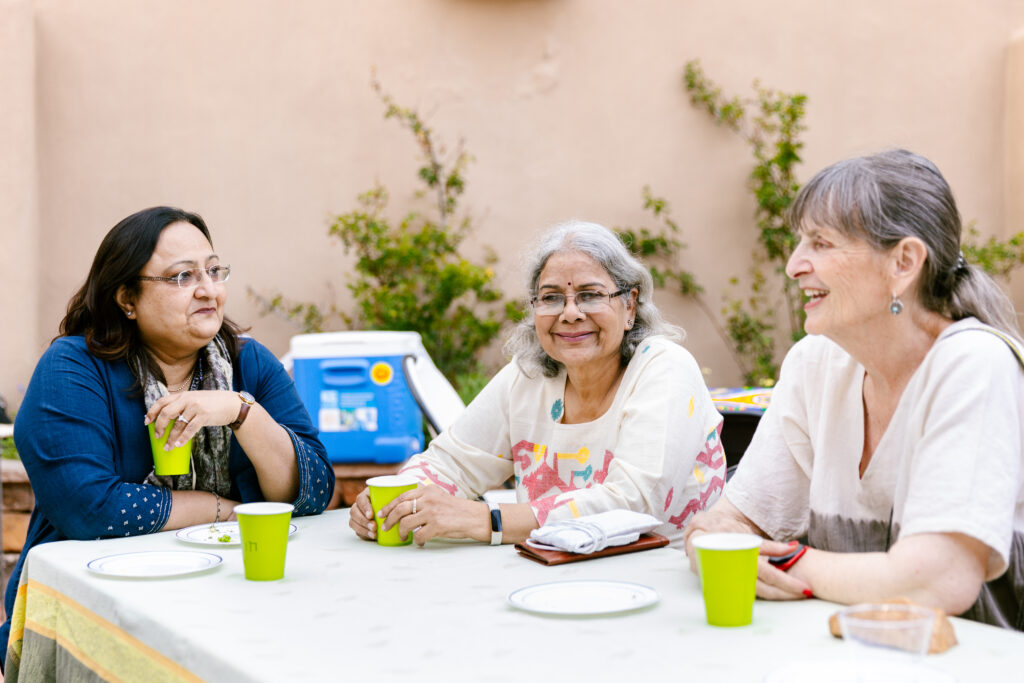
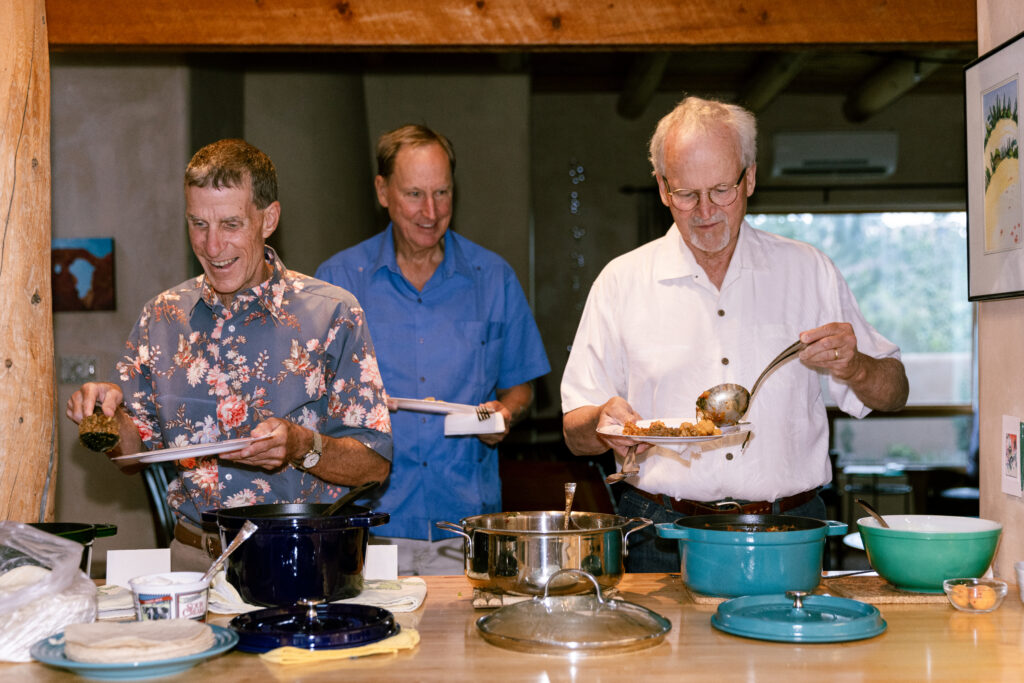
TABLE chatted with La Posada’s Executive Chef Israel Castro who spilled the beans on the power of a smiling customer, his mom’s home cooking, and that game changing rack of lamb.
Proust Questionnaire with Israel Castro
Red, green, or Christmas?
While both red and green chiles have their merits, the distinct qualities of green chiles often win my heart.
What qualities make for a great restaurant?
Consistent quality in food preparation builds trust. Customers return when they know they can always expect the same great taste. Every dish can tell a story; sharing the origin of ingredients or the inspiration behind recipes adds depth and connection. A well-executed meal can leave a lasting impression. Unique presentations or unexpected flavor combinations can create that “WOW” moment. By focusing on these elements, food can transcend the ordinary and become an unforgettable experience!
What qualities make for a great chef?
Integrity is essential in the kitchen. It fosters trust between staff and guests. When the team acts with honesty, it enhances the overall experience. A love for food drives creativity. It encourages chefs to experiment with flavors and presentation. This passion is reflected in every dish served. A genuine love for hospitality creates memorable experiences. It motivates staff to go the extra mile for guests. This dedication is what sets a business apart. The back-of-the-house team is vital. They work tirelessly to ensure smooth operations. Their efforts deserve recognition and appreciation. Each of these elements contributes to a thriving culinary environment, ensuring guest satisfaction and team morale.
What makes you a great chef?
Love for food and industry My love for food drives my creativity in the kitchen. I enjoy experimenting with flavors and techniques to create delicious and unique dishes. Cooking allows me to connect with people. Sharing meals fosters relationships and creates lasting memories with friends and family. There’s immense joy in seeing others enjoy my food. Their smiles and compliments motivate me to continue honing my craft as a chef. These elements combine to enhance my skills and passion, making me a passionate chef who values both food and people.
What inspired you to become a chef?
My mom’s cooking was always special. She believed that food could unite people. Every meal was made with love and care and she would spend hours in the kitchen preparing dishes that filled the house with delicious aromas. Each bite was a reminder of our shared moments, for her, cooking was not just a task; it was an art form. She taught us that food fosters connection and strengthens bonds. It shaped my early experiences with food. Then, everything changed.
I began to notice the vibrant colors on my plate. Each hue told a story of freshness and flavor. The shapes of different foods sparked my creativity. I started experimenting with herbs and spices. Proteins became more than just a source of energy; they were a canvas for culinary art. Sweets transformed into delightful creations that delighted the senses. Textures played a vital role in my dishes, adding depth and interest. The world of food opened up to me, revealing endless possibilities. Each meal became an adventure waiting to unfold.
What do you appreciate most/look for in your sous chefs?
The things I cannot show or teach; passion, integrity, creativity, and love for food and people. Passion is a fire that burns within. It drives you to pursue what you love. You can’t teach someone to feel it deeply. Integrity is about staying true to your values. It’s a personal commitment that comes from within. You can guide, but the choice is theirs. Creativity flows from the soul. It’s an expression of individuality that can’t be forced. You can inspire, but each person must find their voice. Love for food and people is about connection. It’s a joy that encompasses sharing experiences and flavors. You can share meals, but the feelings must be genuine. These qualities are deeply personal. They shape who we are and how we interact with the world.
What is your favorite ingredient?
Citrus; it adds a bright and zesty taste to dishes. It can enhance both savory and sweet recipes.
What is your favorite dish you make?
Tacos are a favorite dish in my kitchen, bringing joy and flavor to every meal.
When you’re not working, where can we find you?
When I’m not working, I cherish my time outdoors with the love of my life. The outdoors is our escape from daily stress and routine. It’s a beautiful way to connect and enjoy life together. I also enjoy spending quality time with my family and my son.
What is your guilty pleasure?
Dunkin Donuts!
If you could make a dinner reservation anywhere in the world…?
El Bulli.
What is your first food memory? Happy? Not?
When I started in this industry, I worked as a dishwasher. It was a humble beginning, but it taught me a lot. After a long day, I was given the responsibility of closing the kitchen. This was a big step for me. I had to ensure everything was clean and organized. One day, the Executive Chef arrived late, around 11:40 PM. By that time, the restaurant was empty.
He was busy prepping the special of the day and carefully selected each ingredient. When he finished, he presented a stunning dish: a Rack of Lamb. The colors were vibrant, and the plating was impeccable. The aroma filled the air, making my mouth water. It was a true masterpiece, showcasing his talent and passion for culinary art.
At just 16 years old, I had never truly appreciated lamb before. The dish I tasted was a revelation. It was expertly seasoned, rich, and tender. Each bite opened my eyes to new possibilities. This experience sparked a passion within me. It made me eager to experiment in the kitchen. I realized that food could tell stories and evoke emotions. This moment was a turning point in my culinary journey.
Story by Julia Platt Leonard
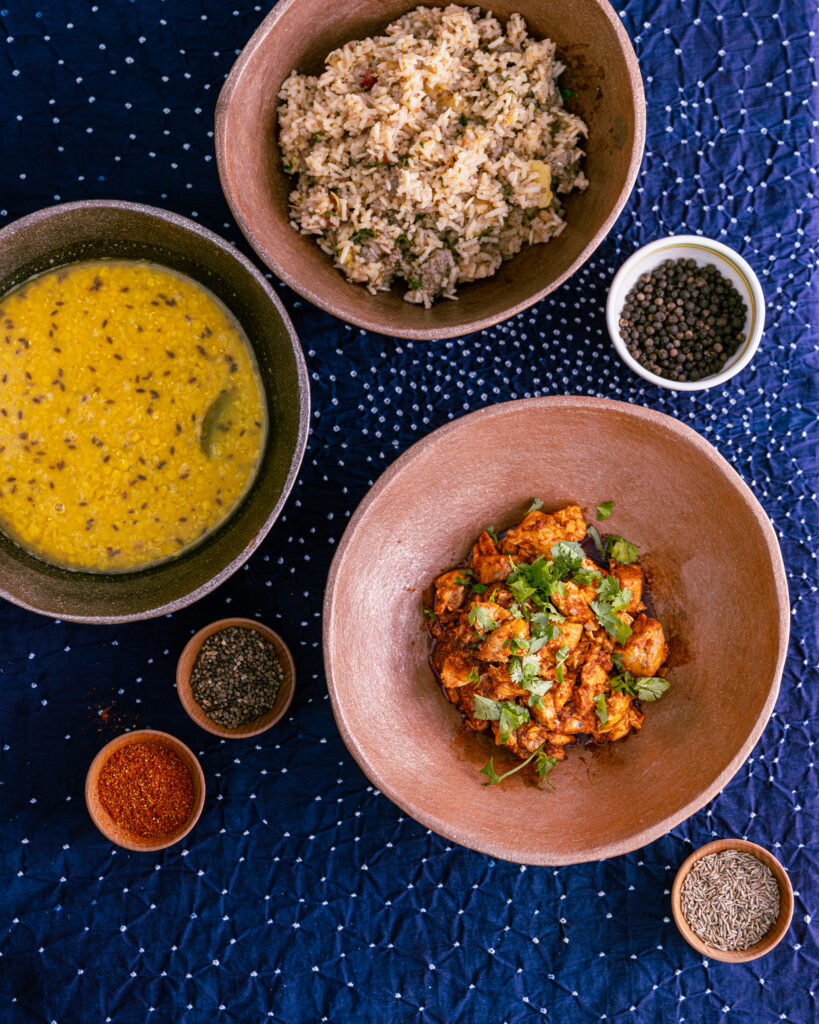
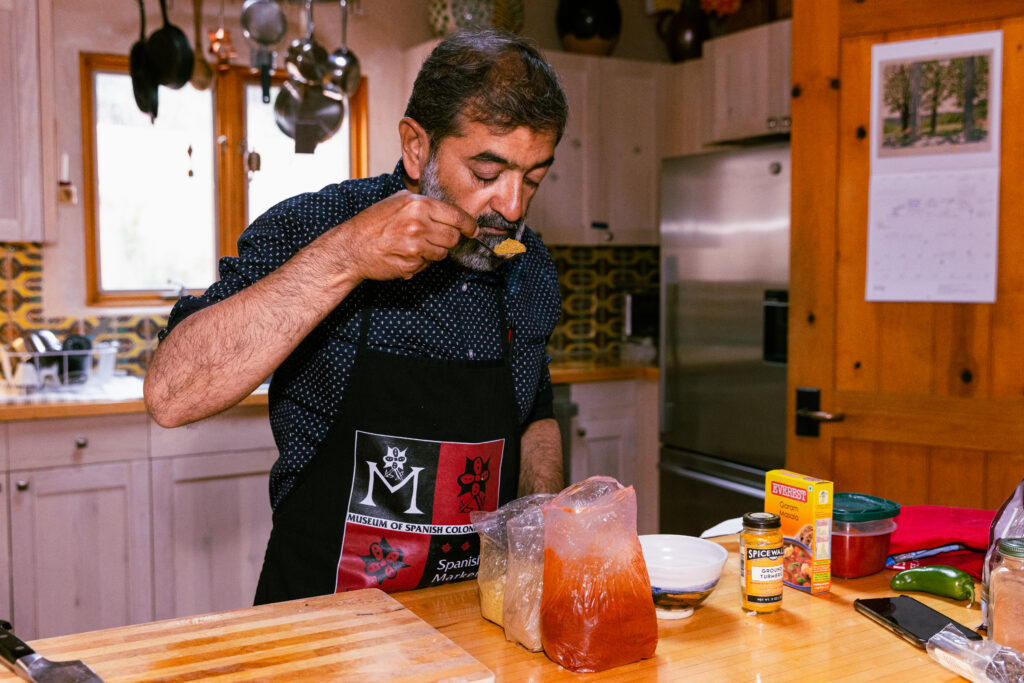
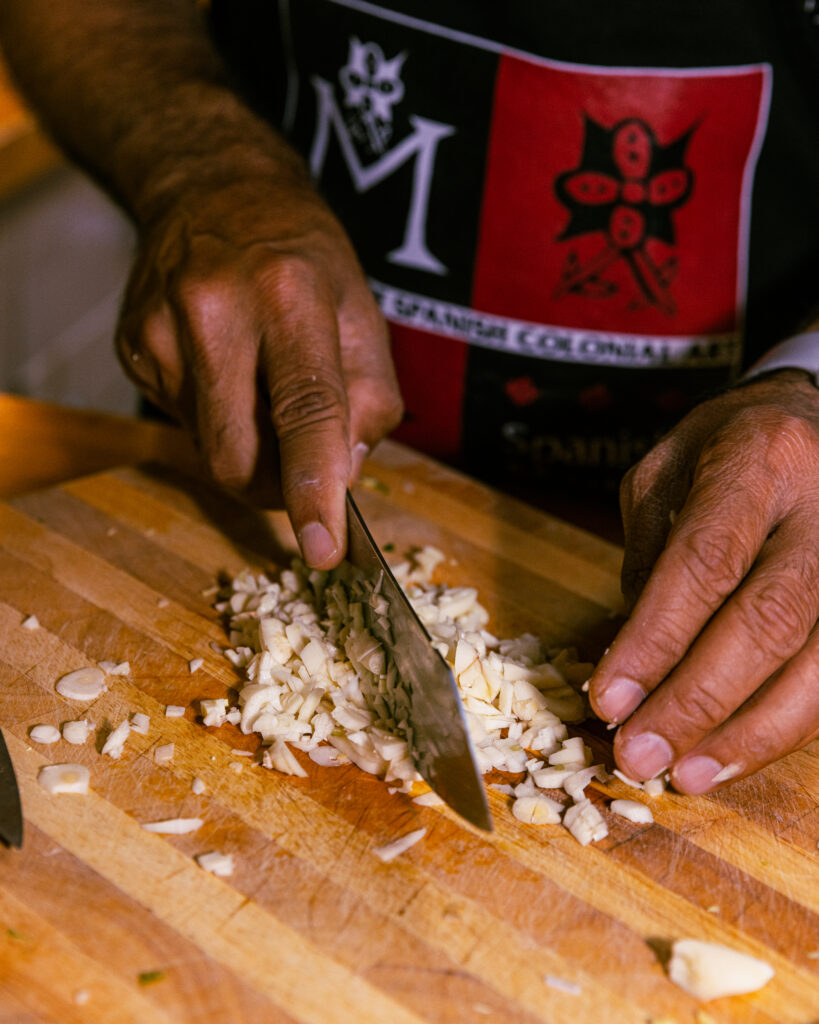
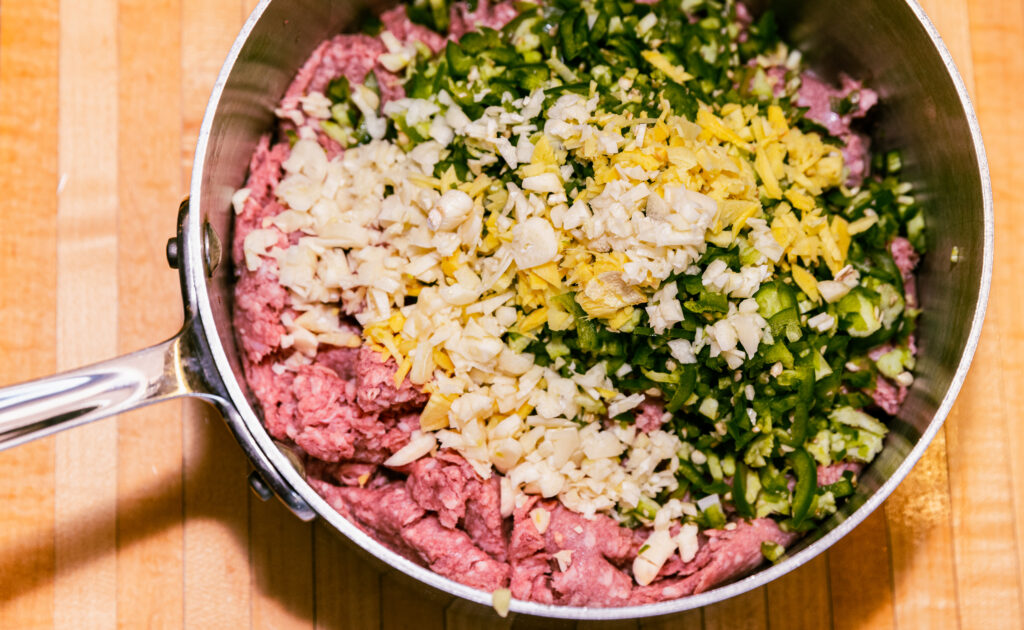
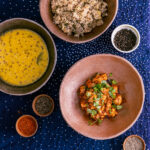
Photo Courtesy of Chef Israel Castro
Subscribe to TABLE Magazine’s print edition