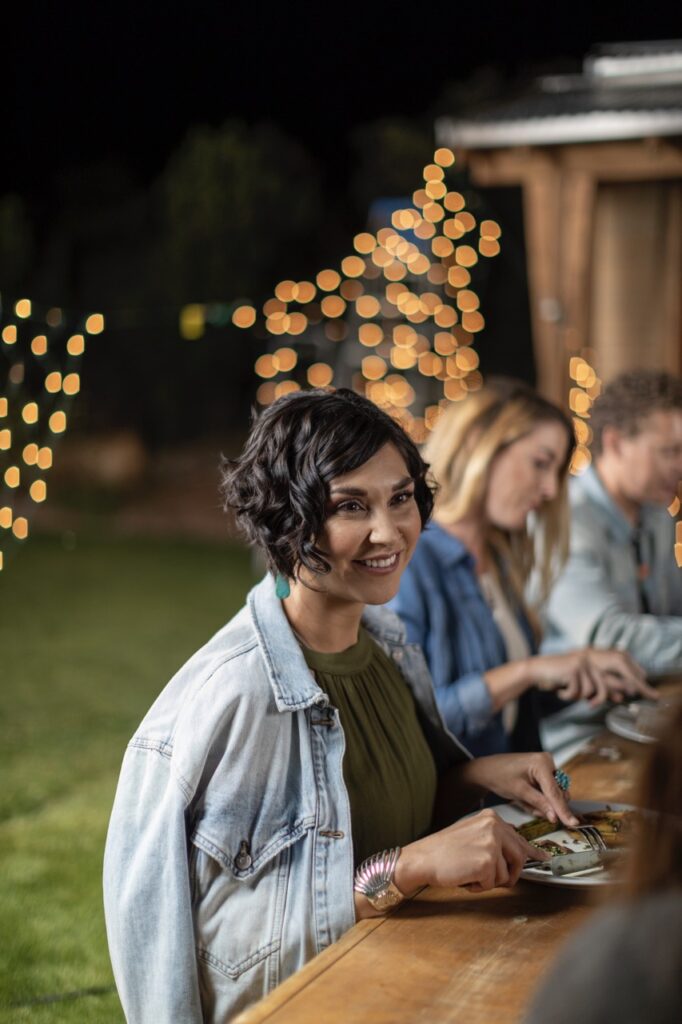
Can a cup of coffee change an entire town? TABLE Magazine contributor Gabriella Marks orders a coffee at Iconik, settles into a comfortable chair, and chats with a few of the City Different’s young creatives.
A Shifting Demographic
It’s no secret that the median age of Santa Fe leans later than that of big cities. The chi-like energy of a metropolis exerts magnetic pull, luring small-town high school graduates toward a limitless future filled with opportunity—higher education, jobs, love, and possibility. It’s a global trend, and our beloved City Different has followed the same migratory pattern for decades.
As a confessed transplant, one of many who arrived from the coasts, I was aware of this generational gap when I moved here more than ten years ago. While it’s charming to be among the youngest diners in a restaurant as I inch toward middle age, there’s also a shared yearning for the passion, irreverence, and energy that younger adults bring to our cultural mix.
Blossoming of Youth and Creativity
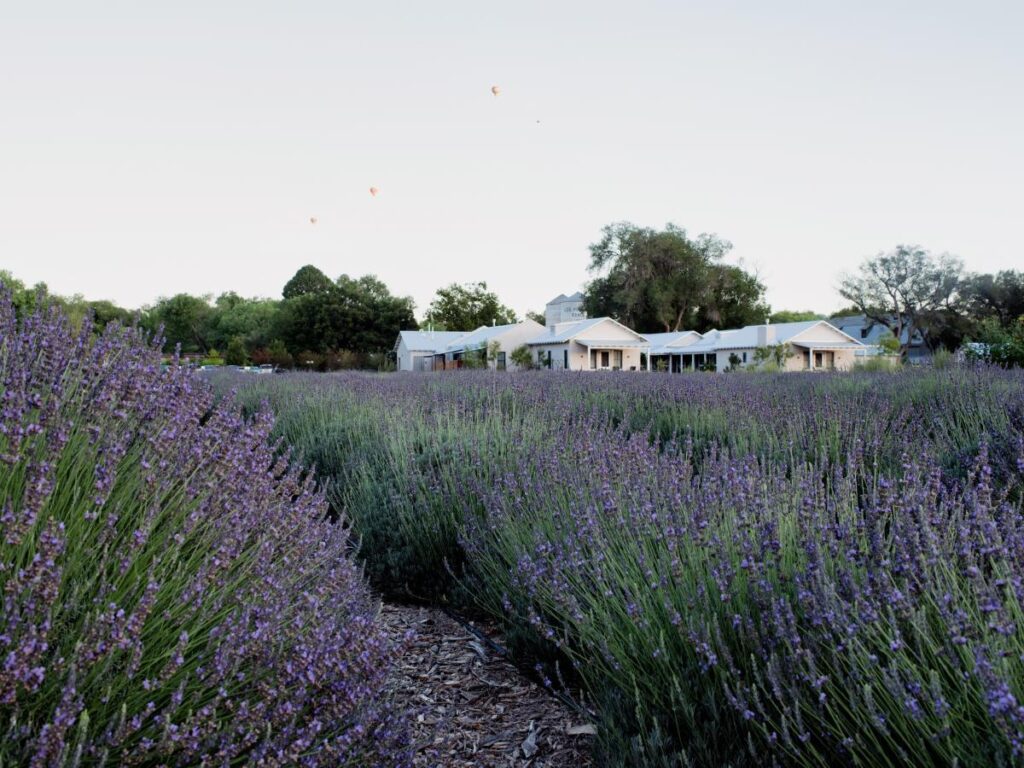
Like the golden carpets of sunflowers and goldenrod that flourished after a season of abundant monsoons, Santa Fe has experienced a blossoming of youth and creativity. This resurgence is the result of a fortuitous convergence: a thriving film industry, extraordinary homegrown innovation in the form of Meow Wolf, and even the unexpected silver linings of global disruption.
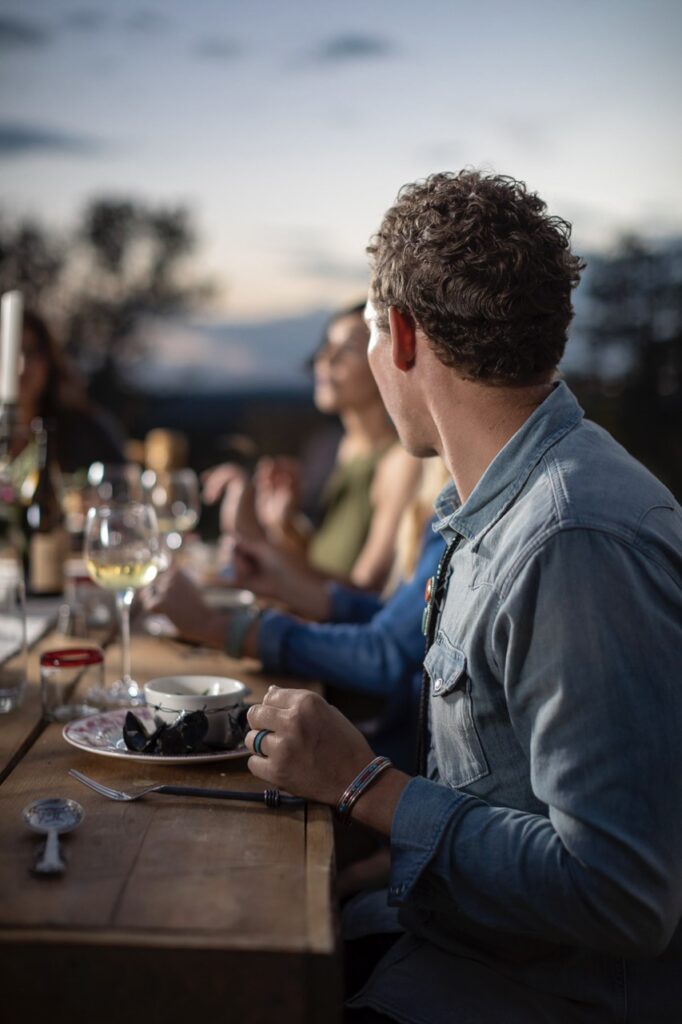
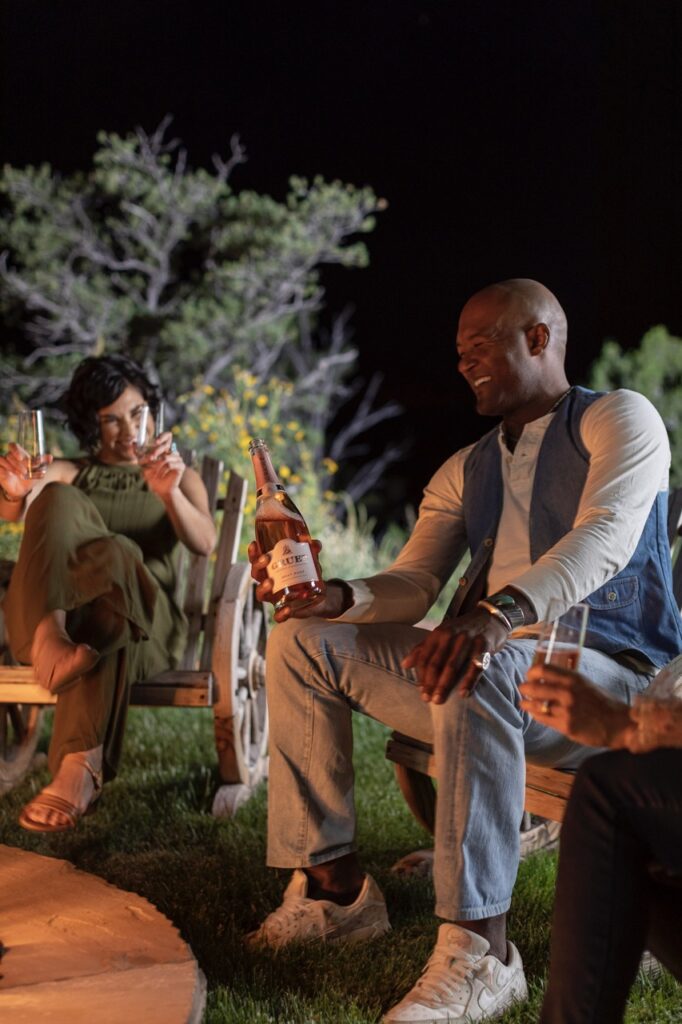
The Great Disruption created an incentive for mobile young people to leave cities where the pleasures of urban living—food, entertainment, vibe—were no longer available. Many sought refuge in a town where open space, reflection, and solitude are a premium, like an artist residency writ large for an entire generation.
Homecomings and New Roots
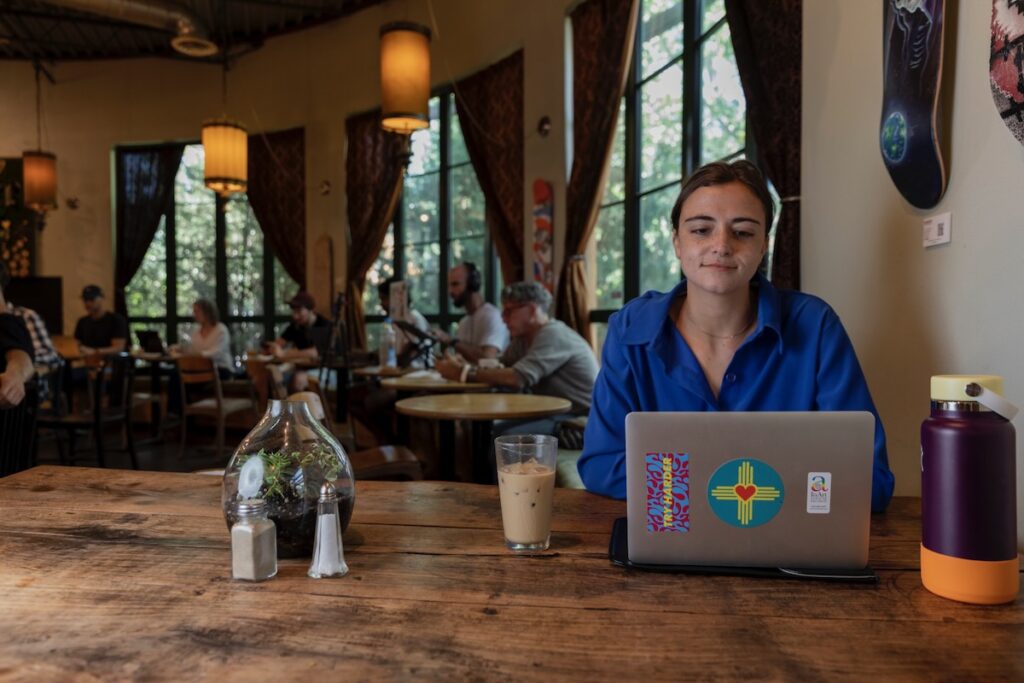
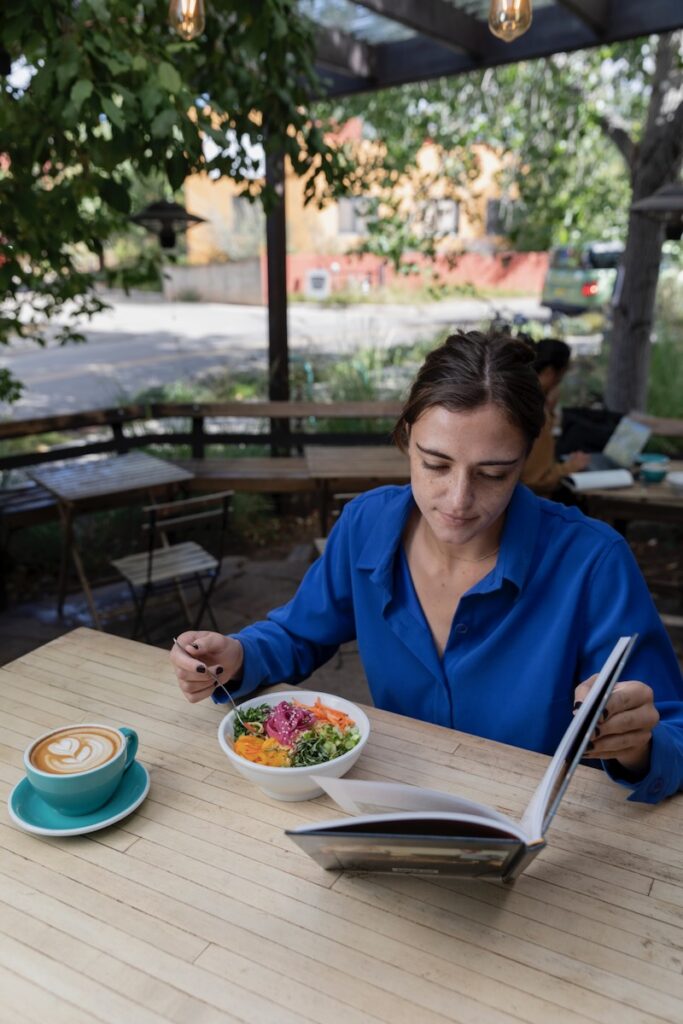
For Merritt Barnwell, a recent Yale graduate in art and art history, this shift meant a homecoming. While her peers moved directly to art hubs like New York, Chicago, or Los Angeles, she returned to her native Santa Fe. Here, she found comfort, an incubator for her painting career, and perhaps most optimistically, a chance to persuade artists her age to give Santa Fe a try.
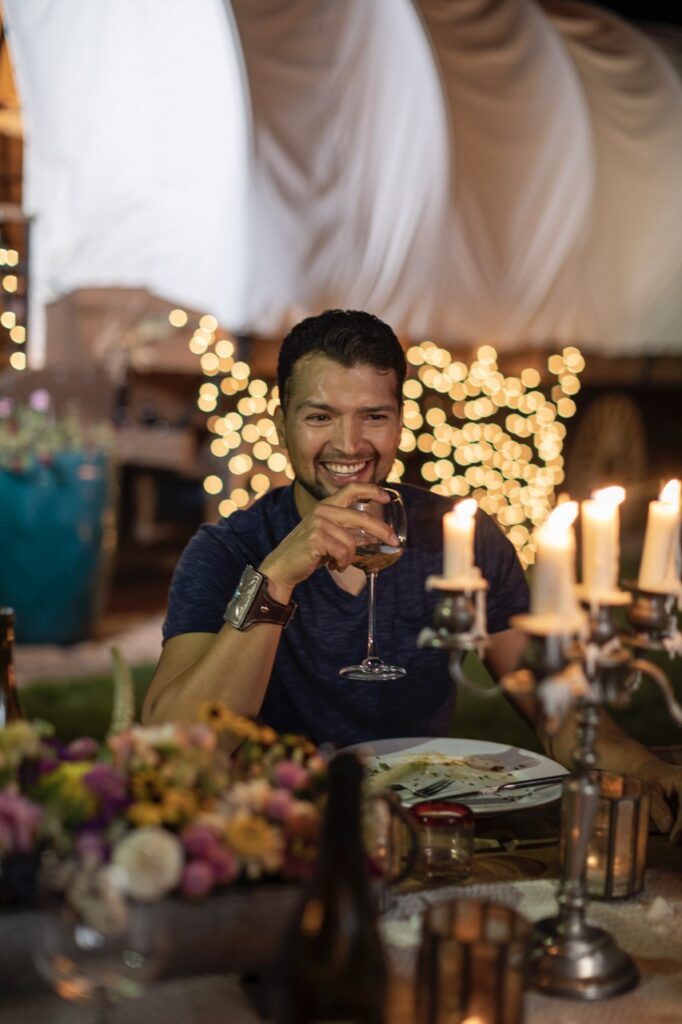
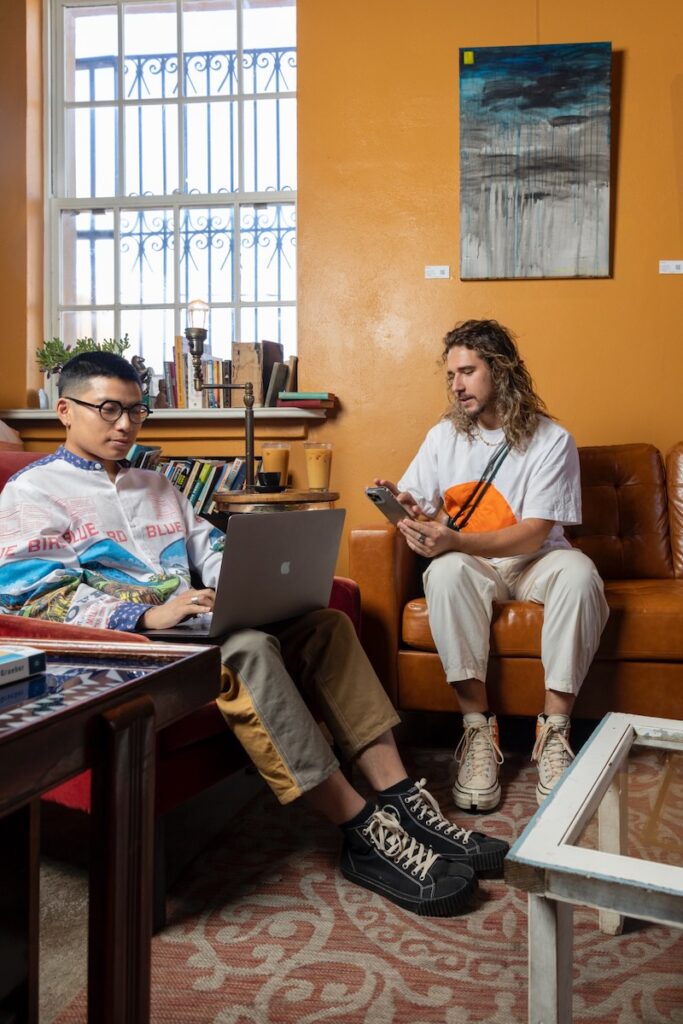
For Eddie Heinrich and Chris Wei Hong, the move was serendipitous. When their LA-based business partners escaped to a family home in Santa Fe, they followed. What began as a temporary stay soon became a permanent address.
Whether prompted by college graduation or the need to escape quarantine claustrophobia, these young creatives discovered an urban ecosystem ready to nurture them—and decided to stay.
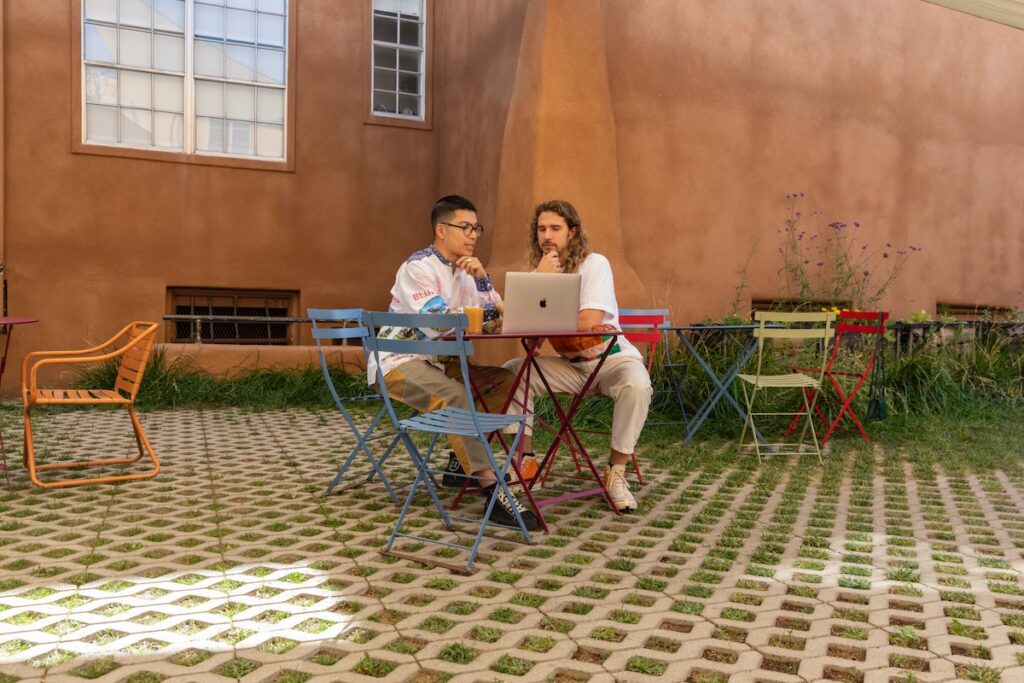
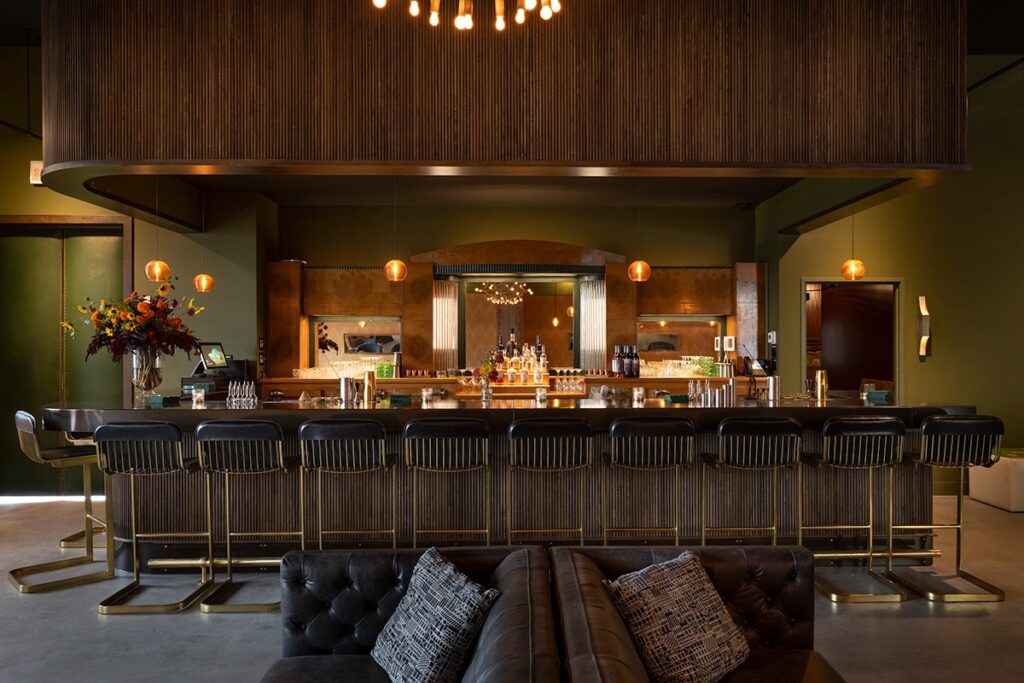
Iconik Café as a Social Habitat
Through its sister locations on Lena and ‘Lupe (Guadalupe), Iconik Coffee has become a vital social hub for younger creatives. While Santa Fe doesn’t have boroughs, each neighborhood carries its own personality, and each Iconik café has a distinct social terroir.
Eddie enjoys the eclectic vibe of the ‘Lupe location. “At Guadalupe, the baristas always have a little bit of eye makeup on, or a shiny shirt or something—there’s always a little bit of glam that feels queer,” he says.
For Merritt, the original Lena location is essential. “Sometimes when I’m making alone in my studio or at home it’s hard to see the value in what I’m doing,” she explains. “I like to be surrounded by people making and doing. I also feel calm when everyone is focused on their own thing, studying, reading…and it helps me focus.”
The Alchemy of Café Culture
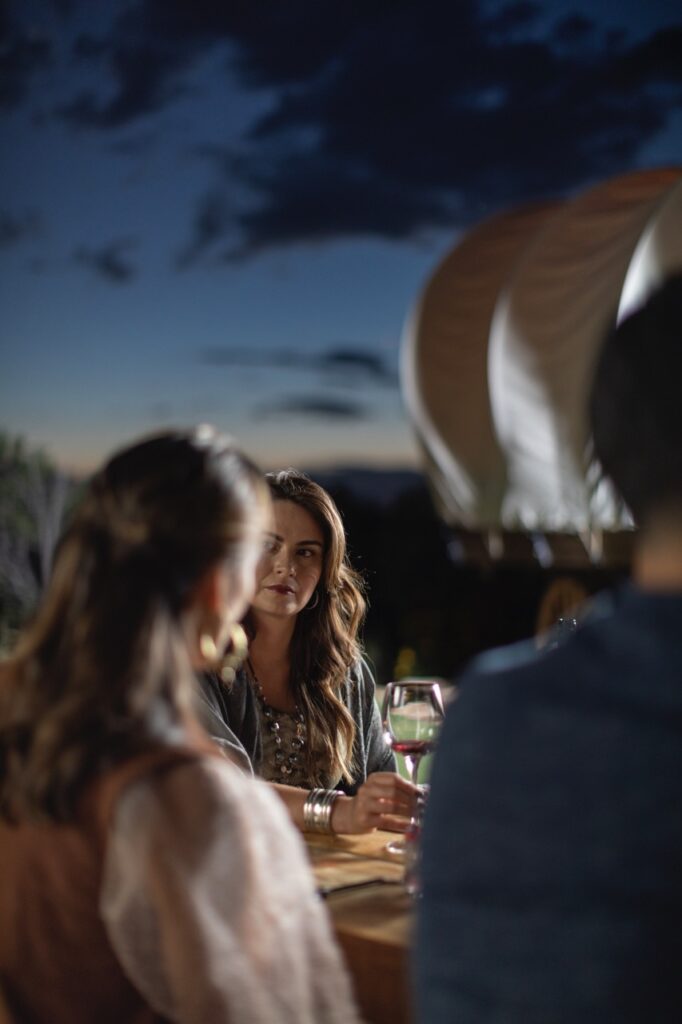
That is the true alchemy of a café. It’s not only about caffeine but about the human urge to gather—to share space, be aware of one another, yet remain quietly individual. For Eddie, the atmosphere sparks new ideas. “People watching in a café helps me break from monotonous thinking,” he says. “I’ve noticed that my work in a café happens in excited bursts more than at home, I think because of all the stimuli and people around.”
Maybe it’s about equilibrium: finding an external environment that resonates with one’s inner life. For the ongoing vitality of Santa Fe, I’m hopeful that resonance continues to reverberate.
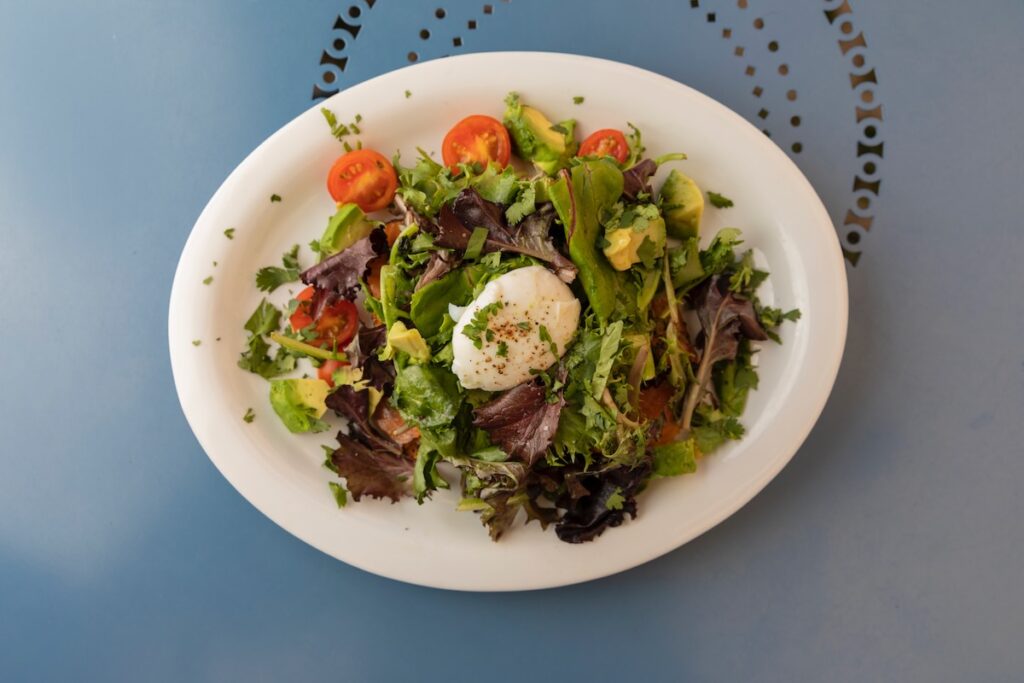
Iconik Recipes
Salmon Paradise at Iconik ‘Lupe
Toast one slice of Wild Leaven sourdough bread. Spread with lemon butter, then layer with two ounces of smoked Atlantic salmon. Add seasonal greens, a poached egg, capers, cherry tomatoes, and parsley.
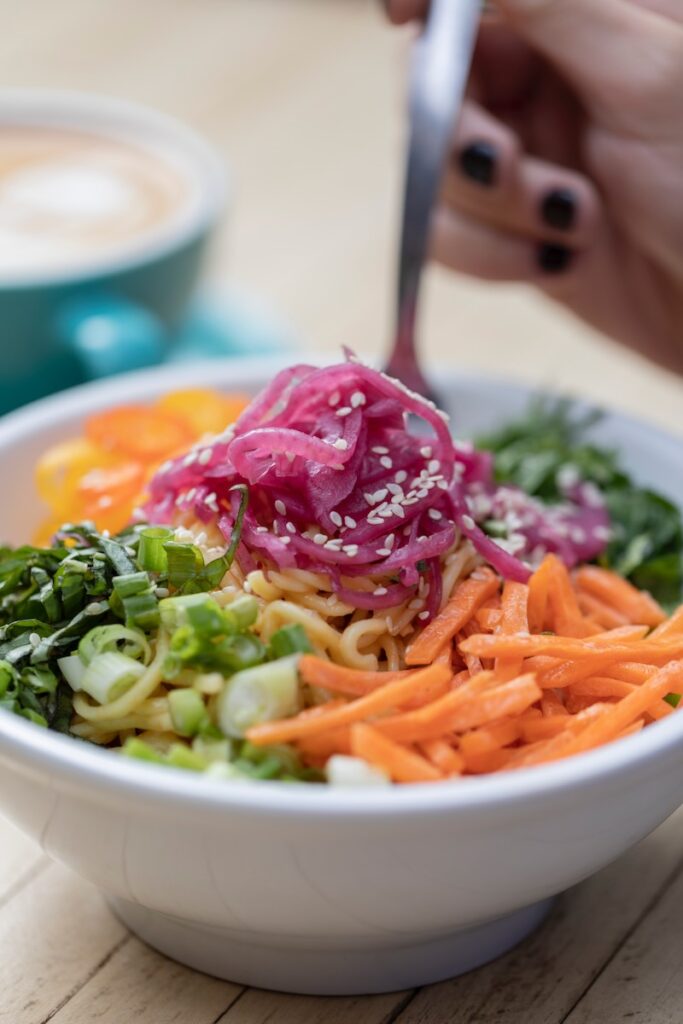
Asian Noodle Salad at Iconik Lena
For the dressing, blend: 1 ½ cups lime juice, ½ cup brown sugar, ½ cup vegetable oil, ¼ cup toasted sesame oil, ¼ cup lime zest, ¼ cup chile paste, and ¼ cup fresh ginger. Toss with chilled ramen noodles, then top with cucumbers, carrots, red jalapeños, cilantro, green onions, basil, pickled onions, and sesame seeds.
Story and Photography by Gabriella Marks
Subscribe to TABLE Magazine‘s print edition.